Printing a logo on a straight-walled tumbler is routine. Printing the same logo on a double-wall vacuum bottle — the kind that narrows at the waist and flares again at the shoulder — is where traditional lacquer printing starts to fail. The artwork overlaps where the diameter changes and leaves a crease you can see from across a room. We hit this problem on stainless steel water bottles, and the fix turned out to matter just as much for barware. Here is what changed.
Why Lacquer Printing Creases on Curved Bottles
Lacquer printing is a transfer process. The artwork is laid down flat, then wrapped onto the surface. On a cylinder of constant diameter that works fine. On a bottle whose diameter shrinks by several millimetres through the waist, the film has nowhere to go: it bunches, the ink layers overlap, and the seam shows as a visible crease line running down the print. With black or white base colours you can sometimes hide it. With anything else — a gradient, a photographic image, a brand colour — the crease is the first thing you see.
The bottle bodies themselves are drawn in 304 stainless steel, our standard grade for any surface that holds a drink, and the lacquer or powder coat over that steel is what the ink has to bond to. The failure is not a skill problem on the line. It is baked into the method: any process that starts flat and ends on a compound curve has to crease somewhere. The only way around it is to stop transferring and start printing directly onto the surface.
How 3D UV Printing Removes the Seam
3D UV printing does exactly that. The print head travels over the object and deposits ink directly, with the head height tracking the surface as the diameter changes. There is no film, no transfer paper, no wrap — so there is nothing to overlap and no seam to hide. The ink is cured by UV light as it lands, which means it is dry the moment the pass finishes and can be handled immediately.
Two things follow from this that matter for production. Registration is held by the machine rather than by an operator aligning a transfer, so a logo that has to sit square to a handle or a weld line lands in the same place every time. And because there is no screen or plate, two colours cost roughly what ten colours cost — the artwork is data, not tooling.
Lacquer vs Heat Transfer vs 3D Printing
| Method | Curved / irregular shapes | Colour range | Setup cost | Best for |
|---|---|---|---|---|
| Lacquer printing | Poor — creases where diameter changes | Limited, spot colours | Low | Straight-wall tumblers, cylindrical bodies |
| Heat transfer | Fair on gentle curves, poor on sharp transitions | Full colour | Medium | Flat or lightly curved panels |
| 3D UV printing | Excellent — head tracks the surface | Full colour, gradients, photo | Low — no plate or screen | Tapered bottles, faceted flasks, embossed surfaces |
What This Opens Up for Barware Logos
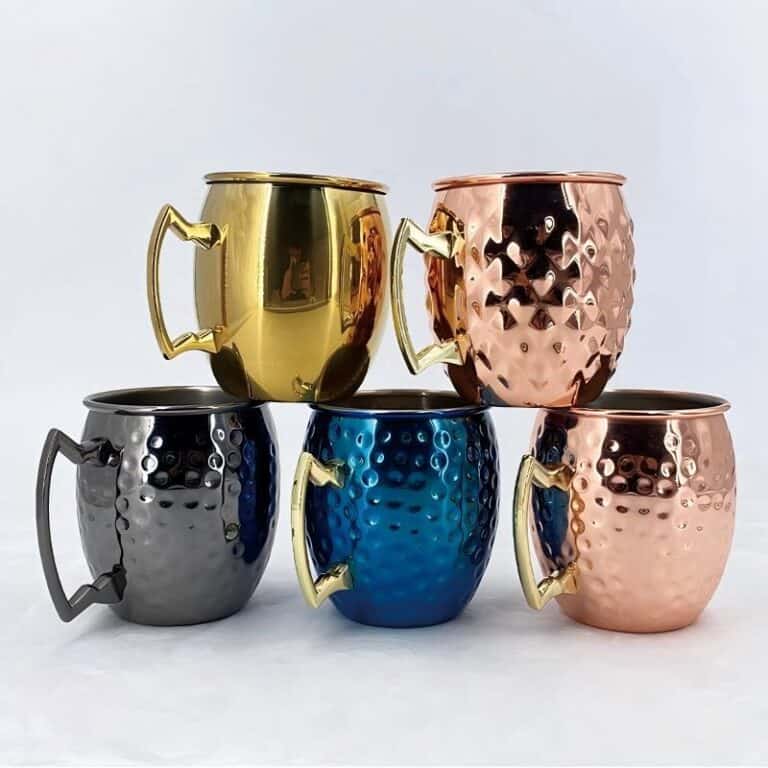
The same geometry problem shows up across the barware range. A Moscow mule mug tapers from rim to base, and a hip flask is curved in two directions at once — both are shapes that lacquer printing struggles with. With direct printing we can run a full-colour logo across a mug body without a break at the handle, wrap artwork around a flask without distortion at the curve, and print gradients or photographic artwork that a spot-colour process simply cannot reproduce.
It also handles surfaces that are not flat to begin with. Embossed logos, hammered finishes and brushed textures can be printed over, because the head follows the profile rather than pressing against it.
What to Send Us in the Artwork Brief
To quote a printed logo accurately, send vector artwork (AI, EPS or SVG) rather than a bitmap, state the print area in millimetres, and tell us where the print sits relative to any handle, weld or seam. Tell us how the item will be washed: a mark that goes through a commercial dishwasher needs a different ink system and a different cure cycle from one that will be hand-washed.
We will produce a printed sample for approval before the run, and we test adhesion on the actual finish rather than a flat coupon, because the finish is where printing fails. Sampling runs 10–14 days; send the artwork and we will tell you what the shape can carry.